

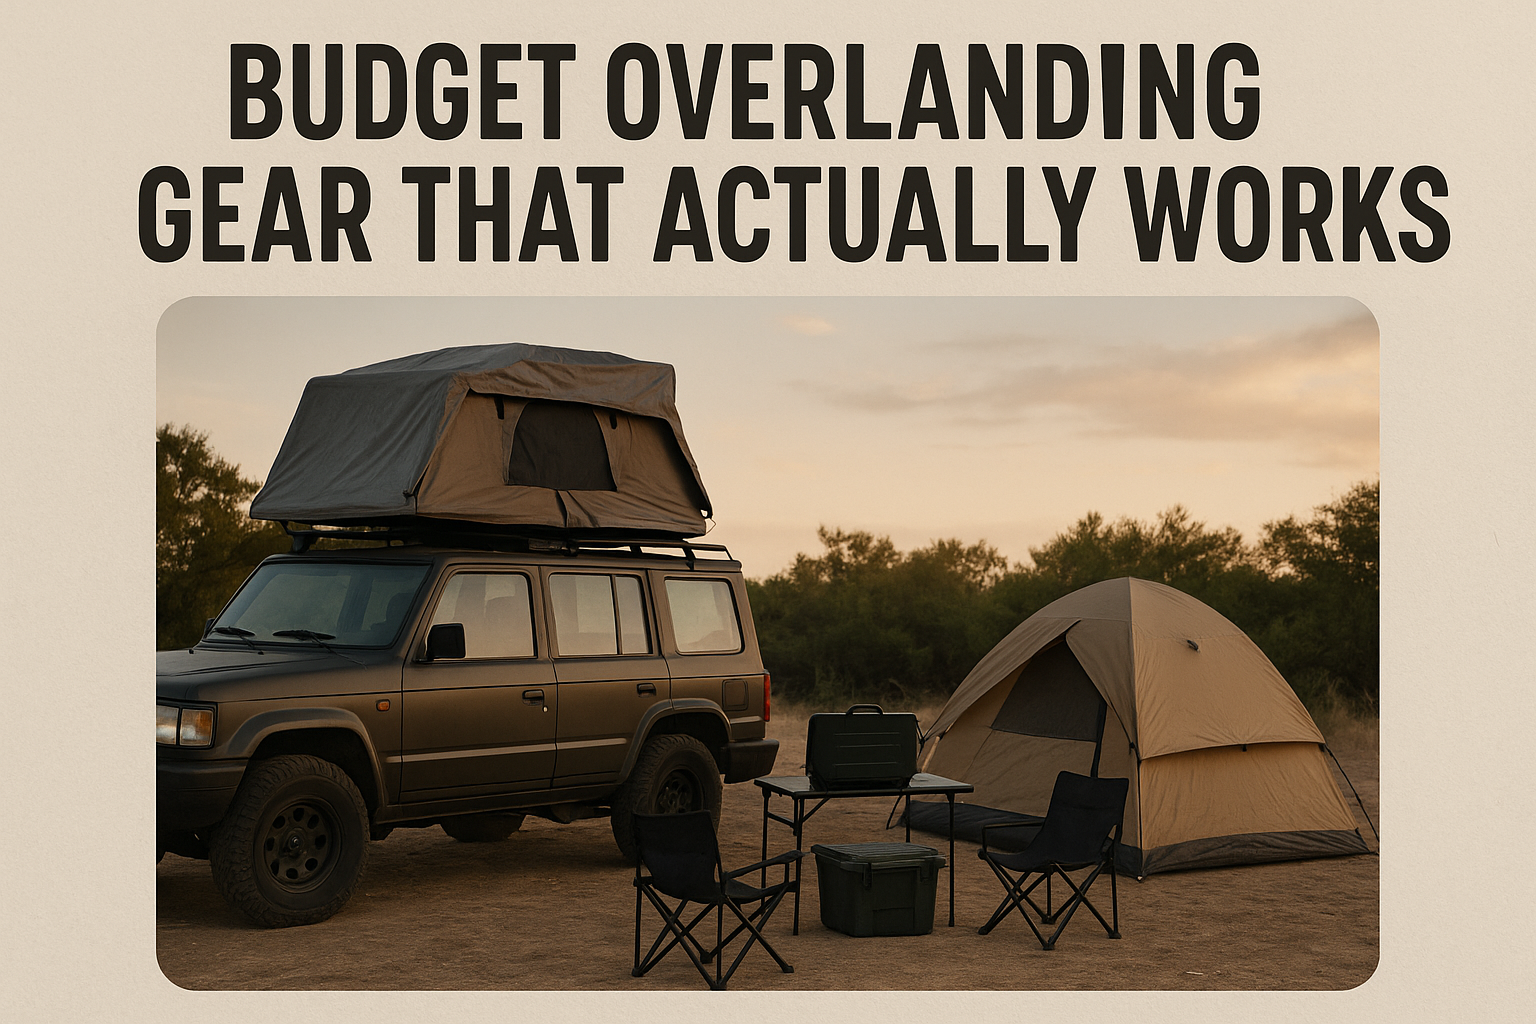
Budget overlanding gear works when it solves a real trip problem: navigation, water, shelter, tire readiness, lighting, food safety, recovery planning or power management. A cheaper item is not automatically a smart buy, and a premium upgrade is not automatically necessary. Start with the jobs your first routes actually require.
This 2026 refresh is research-based, not a product test. It removes Amazon shortlinks, affiliate CTAs and unsupported product rankings from the previous version. Use it as a practical purchase-order guide, then verify vehicle limits, land rules, weather, fire restrictions and product instructions before a trip.
Quick Answer: The Budget Overlanding Setup to Build First
The best budget overland gear setup is a layered kit, not a list of random deals. Cover personal safety, water, shelter, tire checks, legal route planning, basic food storage and backup navigation before spending heavily on rooftop tents, fridges, solar panels or complex storage systems.
| Priority | Budget gear category | Why it comes early |
|---|---|---|
| 1 | Water bottles and a water jug | NPS treats water as a core survival need for camping. |
| 2 | Headlamp or flashlight, plus spare batteries | NPS lists illumination as one of the Ten Essentials. |
| 3 | Offline map, paper map or route backup | NPS recommends navigation tools and a physical map backup. |
| 4 | First-aid and repair basics | NPS includes first aid and repair tools in the Ten Essentials. |
| 5 | Tire gauge, tire check and vehicle load review | NHTSA warns that poor tire maintenance can lead to tire failure. |
| 6 | Simple shelter and sleep system | NPS camping guidance covers shelter, bedding and weather fit. |
| 7 | Food and cooler plan | USDA FSIS guidance says perishable food needs a cold source. |
| 8 | Recovery plan and rated attachment points | Recovery gear must match rated points and product instructions. |
If you are still planning your first route, pair this gear plan with Trail Gear Review’s guide to planning an overlanding route on public lands.
Best Budget Overlanding Gear Under $100
Under $100, the goal is not to build a show rig. The goal is to remove small failure points that can ruin a simple overnight trip: no light after dark, not enough water, no backup map, a soft tire, missing first aid or a loose repair item you cannot fix at camp.
Start with a tire pressure gauge and basic tire check. NHTSA says proper tire pressure affects safety, durability and fuel consumption, and it points drivers to the Tire and Loading Information Label or owner’s manual for the correct pressure. A tire inflator can be useful, but the first budget step is knowing the correct pressure, checking cold tires and making sure tires are the right size and load rating for the vehicle.
Add lighting before camp furniture. NPS lists illumination as a Ten Essentials category and specifically calls out flashlights and headlamps. A basic headlamp for each person, plus spare batteries or a charging plan, is usually more useful than decorative lights on a first budget setup.
Water storage belongs in the first price band. NPS camping guidance says campers need water for drinking, cooking and cleaning, and that a water jug should be an early frontcountry campground task when potable water is available. For overlanding, that means carrying personal bottles plus a larger jug or confirmed refill plan.
This is also where backup navigation starts. Downloaded maps, a printed route note, an official campground map or a paper map can be low-cost compared with dedicated devices. Trail Gear Review’s offline navigation guide for camping and overlanding explains how to build that backup before cell service disappears.
Useful under-$100 categories:
- Tire pressure gauge and basic tread check habit.
- Headlamp or flashlight for each person.
- Water bottles and a water jug.
- Basic first-aid kit with personal medications.
- Repair basics such as tape, cord and a multi-tool.
- Offline map downloads, printed route notes or paper map.
- Trash bags and simple camp cleanup supplies.
- Gloves and storage bag for dirty recovery or tire work.
Best Budget Overlanding Gear Under $300
Under $300 is where budget overlanders should start solving comfort and self-sufficiency problems, but only after the under-$100 basics are covered. Good candidates include a better sleep setup, a simple stove and food system, an air compressor, entry-level traction boards or a recovery kit that matches rated recovery points.
Recovery gear needs the most caution in this price band. ARB’s recovery guidance says load-rated shackles should be used for vehicle recovery, recovery straps should be correctly rated for the vehicle, damaged straps should not be used, and a standard tow ball or tie-down point is not designed for recovery strap attachment. The budget mistake is buying a strap before confirming the vehicle has suitable rated recovery points and before learning safe procedure.
A 12V air compressor or tire inflator can make sense for backroad travel, but do not treat it as a reason to skip tire basics. Check cold pressure, tire condition, tire size and vehicle load guidance first. If you air down for trail conditions, you need a reliable way to air back up before highway driving.
For food, a basic stove and cooler can be more practical than a fridge on early trips. USDA FSIS camping guidance says perishable food should be packed with a cold source, and bacteria grow rapidly between 40 F and 140 F. If a cooler is enough for your trip length, spend the money saved on water, sleep and safety basics first.
Useful under-$300 categories:
- Sleeping pad or sleep upgrade that matches your vehicle/camp style.
- Basic camp stove and cookware, where local rules allow stove use.
- Cooler and cold-source system for short trips with perishables.
- 12V tire inflator or portable compressor.
- Entry-level traction boards for sand, mud or snow conditions.
- Recovery strap, shackles and damper only after rated points and training are addressed.
- Weather-resistant storage totes for organizing water, food, tools and recovery items.
Best Budget Overlanding Gear Under $500
Under $500 is where larger upgrades become tempting. Power stations, solar panels, 12V fridges, roof racks and premium recovery boards can be useful, but they should earn their space by solving a problem your trips already create. They are not required for every beginner route.
A portable power station makes sense when you know your actual power needs. If the only requirement is charging phones and headlamps, a smaller battery bank may be enough. If you plan to power a fridge, camera batteries, lights or communication devices, use a power budget first. Trail Gear Review’s guide to how much portable power you need for camping can help with that calculation.
A 12V fridge is a convenience and food-management upgrade, not a universal first purchase. USDA FSIS food-safety guidance still matters: cold foods need to stay cold, and leftovers are only safe when the cold source is still doing its job. If you are comparing fridge options, see Trail Gear Review’s guide to 12V camping fridges for overlanding and road trips.
Dedicated navigation hardware can be useful for repeated off-road routes, but official route information still matters. The USDA Forest Service says Motor Vehicle Use Maps identify roads, trails and areas designated for motor vehicle use. BLM camping guidance also says vehicles must stay on designated roads and trails unless an area is specifically designated for off-road vehicle use. A device can help you navigate; it does not make a closed route legal.
Useful under-$500 categories:
- Portable power station sized to your actual trip load.
- Portable solar panel if your route length and sunlight exposure justify it.
- 12V fridge if food safety, trip length and power budget support it.
- Higher-quality traction boards or recovery accessories.
- Dedicated GPS or navigation device for repeated vehicle routes.
- Roof or rear storage only after checking vehicle and rack load limits.
For navigation upgrades, compare the planning role of off-road GPS and overlanding navigation systems before buying hardware.
What Budget Overlanders Can Skip at First
The easiest way to stay on budget is to delay gear that solves future problems instead of current ones. A first overnight route near services does not need the same setup as a remote multi-day route with rough access, poor cell coverage and strict food-storage rules.
Skip or borrow these until your trips prove the need:
- Rooftop tent if a ground tent or sleeping platform already works.
- 12V fridge if a cooler safely covers the trip.
- Large solar kit before you know your daily watt-hour use.
- Heavy roof storage before checking vehicle and rack load limits.
- Premium camp kitchen if simple meals and one stove are enough.
- Multiple recovery devices before learning rated attachment points and safe use.
- Expensive lighting systems before every person has a dependable headlamp.
- Extra comfort furniture before water, sleep, weather and first aid are handled.
This does not mean those upgrades are bad. It means they should follow real trip requirements, not shopping momentum.
Budget Overlanding Gear Safety Checks
Budget gear still needs a safety gate. Cheap recovery gear, overloaded storage, poor tire pressure, unsafe stove use or improvised route decisions can create more risk than they solve.
Use these checks before relying on the setup:
- Check the vehicle owner’s manual and tire placard for correct tire size, load guidance and cold tire pressure.
- Inspect tire tread and pressure before trips, not only after a warning light appears.
- Confirm public-land route legality with official maps or agency pages; do not rely only on a route line in an app.
- Check BLM, Forest Service, park or local rules for camping, campfires, food storage and road access.
- Use fuel-burning stoves, lanterns and heaters only as directed and never while sleeping in enclosed tents, campers or vehicles.
- Keep perishable food cold with a real cold source or choose shelf-stable meals.
- Use recovery straps, shackles and recovery points only if they are rated and compatible with the vehicle and method.
- Keep bystanders out of the recovery line area and follow the product manufacturer’s instructions.
First Purchase Order for Overlanding on a Budget
If you are starting from zero, buy or borrow in this order:
- Route and rules: offline map, route notes, agency pages and campsite rules.
- Water: bottles, jug and refill or treatment plan.
- Sleep and weather: shelter, pad, bag or blankets, rain layer and warm layer.
- Light and safety: headlamp, batteries, first-aid kit, repair basics and emergency contacts.
- Tire readiness: pressure gauge, tread check, spare check and inflator if the route requires it.
- Food: simple meals, cooler or shelf-stable plan, stove only where allowed.
- Recovery: only after rated attachment points and safe-use knowledge are confirmed.
- Power and fridge: only after calculating actual demand.
- Storage and comfort: only after the core kit is working.
That order keeps a budget overlanding setup practical. It also keeps the article’s “gear that actually works” promise grounded in trip function instead of affiliate-style product hype.
Sources and Method
This refresh is a research-only update for Trail Gear Review. It uses the supplied GSC/GA4 baseline for the refresh rationale and source-backed public guidance for article claims. It does not include affiliate links, Amazon shortlinks, product-testing claims or product-ranking claims.
Official Sources
- National Park Service: Ten Essentials
- National Park Service: What to Bring
- U.S. Consumer Product Safety Commission: Portable Heaters & Camping Equipment
- USDA FSIS: Food Safety While Hiking, Camping & Boating
- USDA Forest Service: Maps and Motor Vehicle Use Maps
- Bureau of Land Management: Camping
- ARB: Recovery Techniques & Equipment
- NHTSA: Tire Safety Ratings and Awareness